
Installation
EuroGravel stabilisation grids are easy to install. The grids are easy to cut to size with a hand or electric saw. The grids can be placed without any additional actions. Different from other stabilisation systems, the Eurogravel grids have weed control membrane attached to the bottom. That will make the installing a lot easier!
INSTALLING THE GRIDS, HOW DOES IT WORK?
What do you need?
1. Foundation layer
Foundation layer of a sub base material with a grain size of 0/16, 0/32 or 0/40 mm. Layer thickness depending on the existing soil structure and the load that needs to be carried.
2. Levelling layer
Levelling layer of 3-5 cm. Use a finegrained material (f.e. 0/2 or 0/4 mm).
3. Filling
Layer thickness in total 5-6 cm. This results in a top layer of 2-3 cm on top of the panels (height 3 cm) to perfectly cover the panels. Use gravel sizes of at least 3 mm and max. 20 mm (chippings) or 25 mm (gravel/pebbles).
Installation in 4 steps:

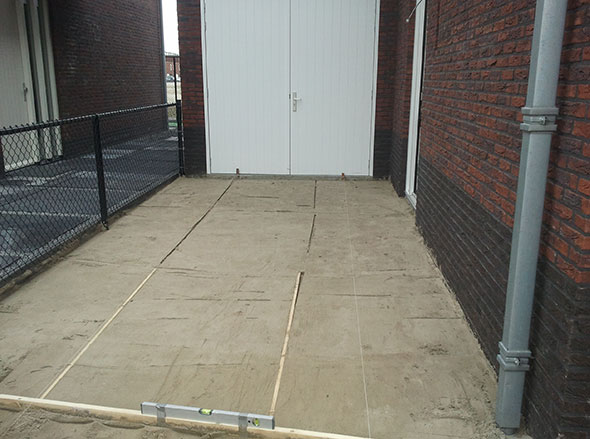
Foundation layer
Start by making a foundation layer. For decorative use (without loads to carry), a sub base of compacted sand or gravel can be sufficient (according to wish). For heavier use (cars, trucks etc.), a foundation layer of mixed granulate or any other sub base material is required. The best sizes to use are 0/16, 0/32 or at most 0/40. This foundation layer should be 25 cm thick for medium loads.
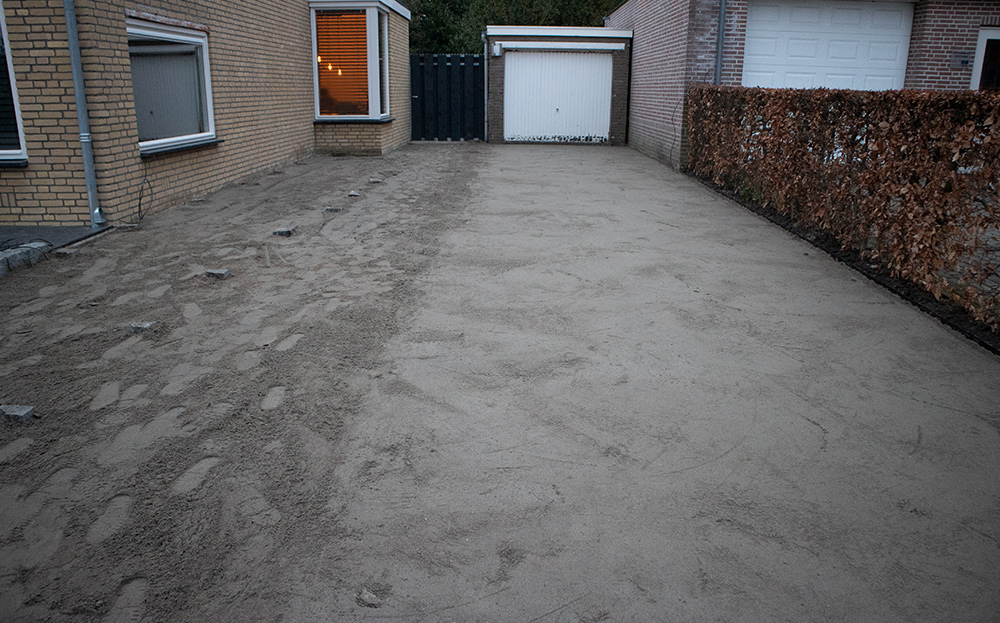

Levelling
It is recommended to finish the foundation layer with a levelling layer (3-5 cm), in order to obtain a smooth surface. Use a fine gravel or volcanic Lava rock in sizes between 0/4 mm. This layer should be compacted as well.

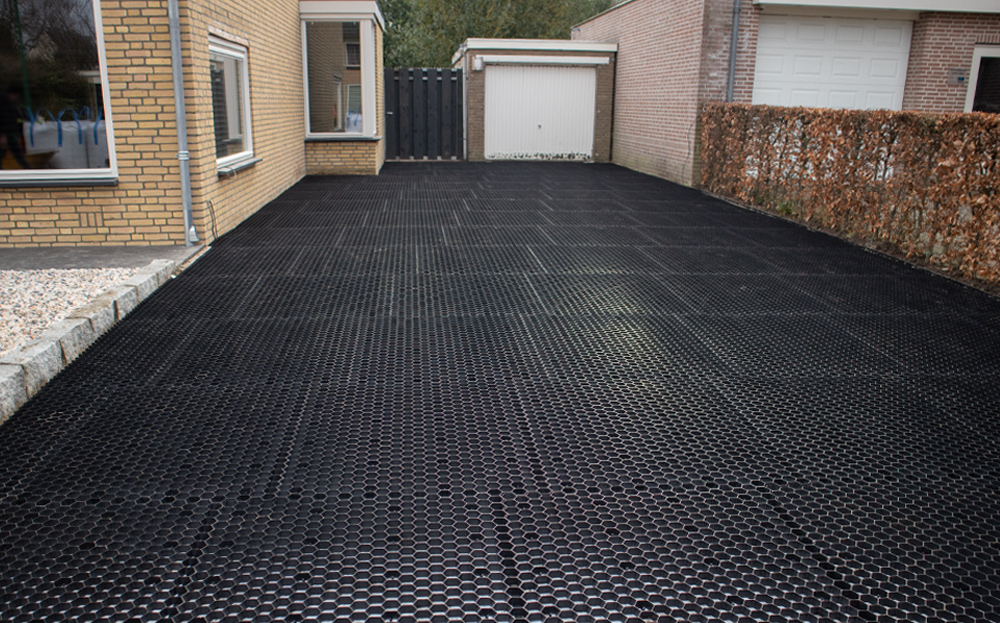
Installing the panels
You now install the panels on the levelling layer, in stretcher (also called running) bond. There is no connector system needed, as the panels can be placed directly on the sub layer one by one. The geotextile overlaps around the edges. Ground spikes are not necessary, unless you install the panels on a slope (max. 15%). On the edges (or to make openings), you can easily cut the panels with a handsaw.

Filling the panels
This is the easiest part, the pebbles or chippings can simply be spread out in the panels. The required thickness is 5-6 cm, therefore you will need about 1 m3 of gravel/chippings per 20 m2. Rake the gravel/chippings well to make sure all panels are filled up completely.
Extensive installation instructions can be downloaded here
Installation in 4 steps:
Foundation layer
Start by making a foundation layer. For decorative use (without loads to carry), a sub base of compacted sand or gravel can be sufficient (according to wish). For heavier use (cars, trucks etc.), a foundation layer of mixed granulate or any other sub base material is required. The best sizes to use are 0/16, 0/32 or at most 0/40. This foundation layer should be 25 cm thick for medium loads.
Levelling
It is recommended to finish the foundation layer with a levelling layer (3-5 cm), in order to obtain a smooth surface. Use a fine gravel or volcanic Lava rock in sizes between 0/4 mm. This layer should be compacted as well..
Installing the panels
You now install the panels on the levelling layer, in stretcher (also called running) bond. There is no connector system needed, as the panels can be placed directly on the sub layer one by one. The geotextile overlaps around the edges. Ground spikes are not necessary, unless you install the panels on a slope (max. 15%). On the edges (or to make openings), you can easily cut the panels with a handsaw.
Filling the panels
This is the easiest part, the pebbles or chippings can simply be spread out in the panels. The required thickness is 5-6 cm, therefore you will need about 1 m3 of gravel/chippings per 20 m2. Rake the gravel/chippings well to make sure all panels are filled up completely.
Extensive installation instructions can be downloaded here